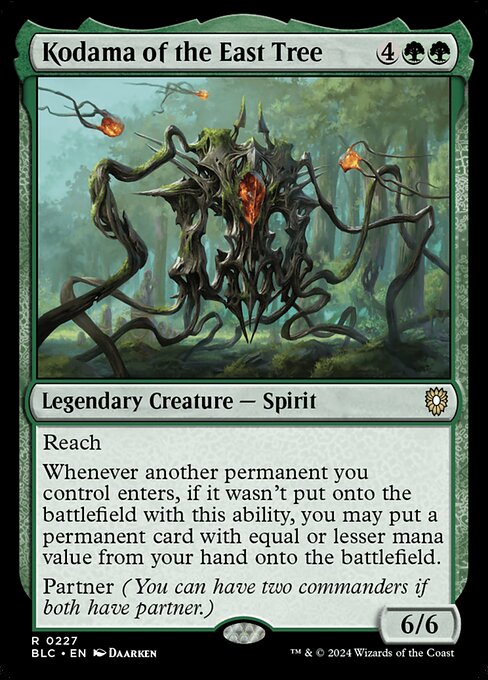
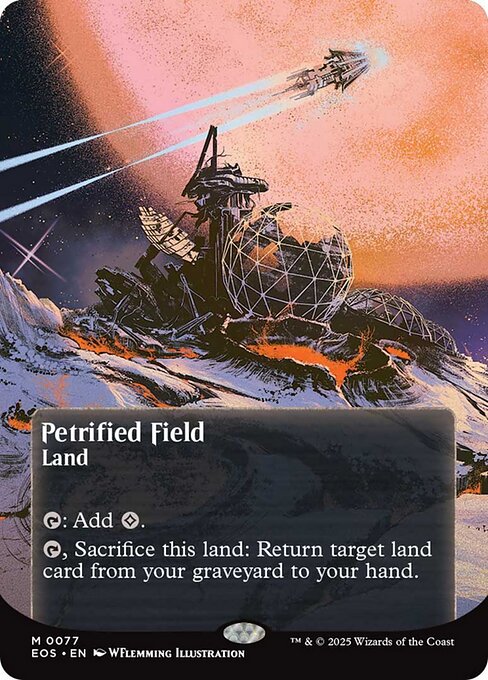
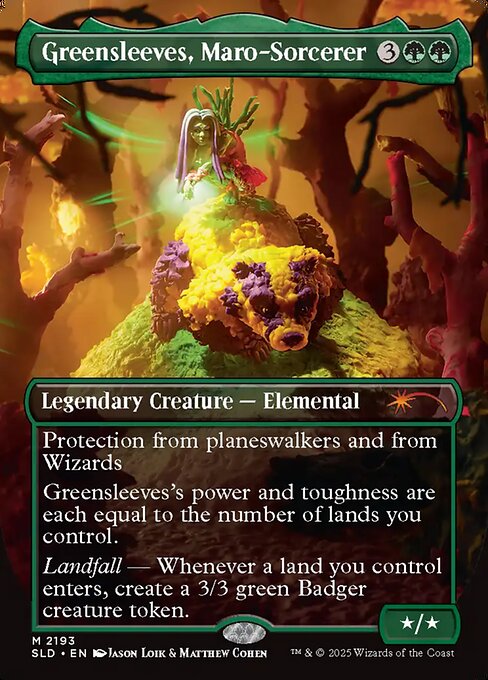
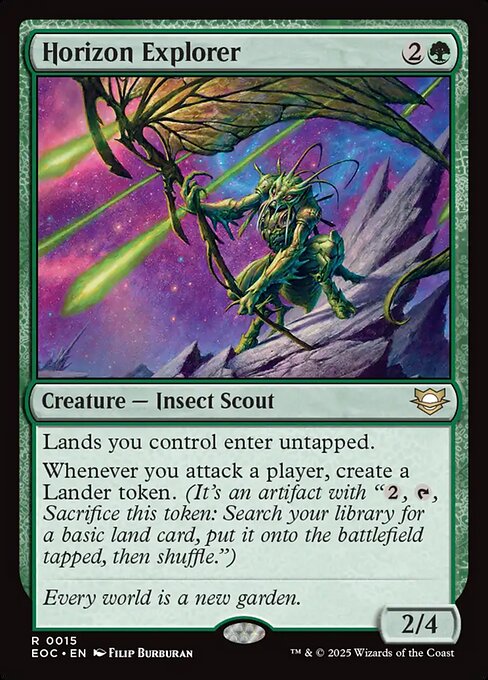
Kodama of the East Tree + Petrified Field + Echoing Deeps + Greensleeves, Maro-Sorcerer + Horizon Explorer


Infinite creature ETBInfinite creature tokensInfinite landfall triggers
How it works
- Play Petrified Field.
- When Petrified Field enters the battlefield, Kodama of the East Tree and Greensleeves trigger.
- Resolve the Kodama of the East Tree trigger, putting nothing onto the battlefield.
- Holding priority, activate Petrified Field's second ability by tapping and sacrificing it, returning Echoing Deeps from your graveyard to your hand.
- Resolve the Greensleeves trigger, creating a token.
- When the token enters the battlefield, Kodama of the East Tree triggers, putting Echoing Deeps from your hand onto the battlefield untapped as a copy of Petrified Field.
- When Echoing Deeps enters the battlefield, Greensleeves triggers.
- Holding priority, activate Echoing Deeps using Petrified Field's second ability by tapping and sacrificing it, returning Petrified Field from your graveyard to your hand.
- Resolve the Greensleeves trigger, creating a token.
- When the token enters the battlefield, Kodama of the East Tree triggers, putting Petrified Field from your hand onto the battlefield.
- When Petrified Field enters the battlefield, Greensleeves triggers.
- Repeat from step 4.
This ingenious loop relies on a self-sustaining land swap fueled by Kodama of the East Tree and Greensleeves, Maro-Sorcerer, where every land entering the battlefield triggers a token that feeds right back into Kodama's triggered ability. Horizon Explorer ensures this entire land-swapping engine drops straight into play untapped, meaning you don't even have to wait to get things rolling. By leveraging Petrified Field and Echoing Deeps to endlessly recur one another from the graveyard whenever a new land or token drops, you generate an unceasing cascade of permanent entries and token bodies.
Legal in:CommanderLegacyOathbreakerVintage
9 decks$21.99