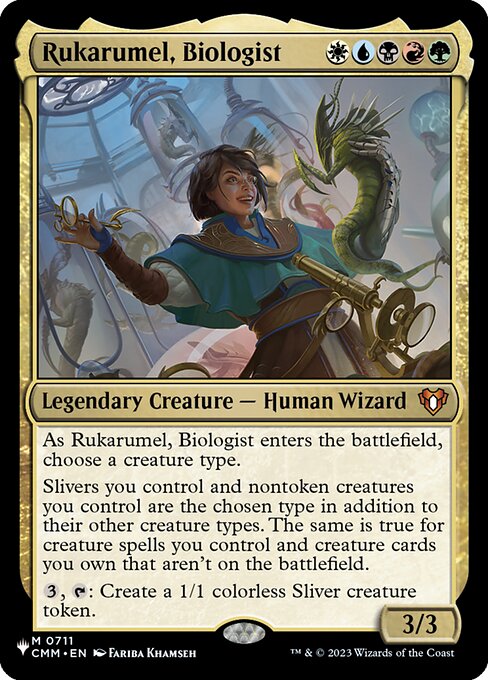
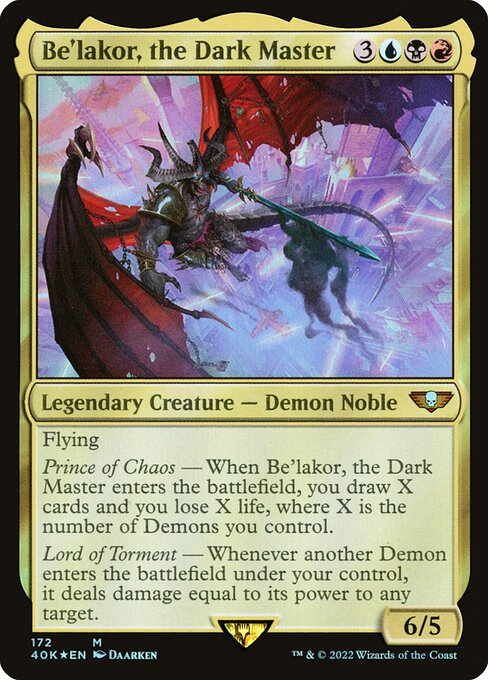
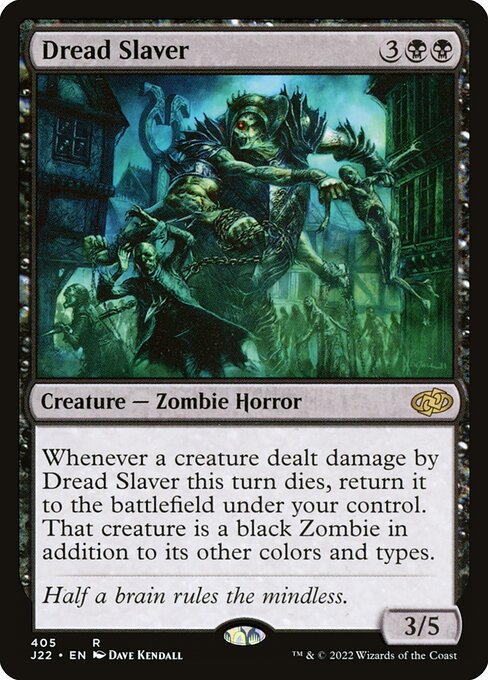
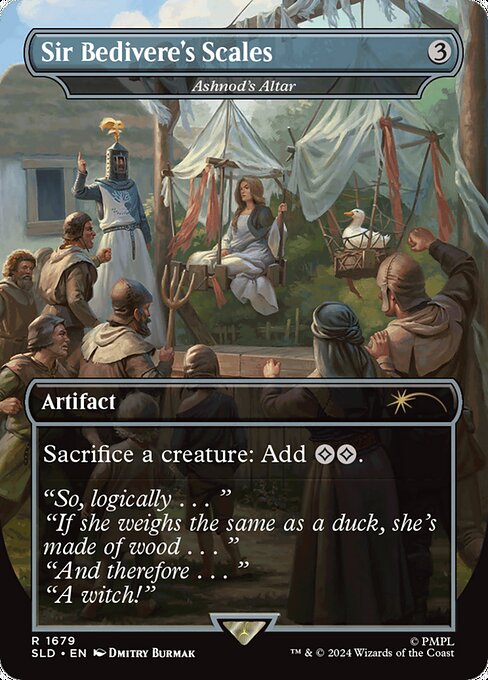
Rukarumel, Biologist + Be'lakor, the Dark Master + Dread Slaver + Ashnod's Altar





Infinite colorless manaInfinite death triggersInfinite creature ETBInfinite creature LTBInfinite creature sacrifice triggers
How it works
- Cast Dread Slaver by paying 3.
- When Dread Slaver enters the battlefield, Be'lakor's second ability triggers, causing Dread Slaver to deal damage equal to its power to itself.
- Activate Ashnod's Altar by sacrificing Dread Slaver, adding CC.
- When Dread Slaver dies, it triggers, returning itself from your graveyard to the battlefield.
- Repeat from step 2.
This clever loop leverages Rukarumel, Biologist to treat all your creatures as Slivers, though the real engine kicks into gear once Be'lakor, the Dark Master takes the field. Because Dread Slaver enters the battlefield as a Demon alongside your other types, Be'lakor's Lord of Torment ability automatically triggers to deal damage equal to its power right back to the Slaver itself. When you sacrifice that damaged Dread Slaver to Ashnod's Altar for a pair of colorless mana, its own resurrection ability returns it straight to the battlefield, ready to be immediately bolted by Be'lakor and sacrificed over and over again.
Legal in:CommanderLegacyOathbreakerVintage
0 decks$22.34