Breath of Fury + Seluma, Light of Aysen + Samut, Tyrant Smasher





Infinite creature ETBInfinite creature LTBInfinite combat damageInfinite combat phasesInfinite death triggersInfinite mana creatures you control can produceInfinite creature sacrifice triggersInfinite untap of creatures you control
How it works
- Deal combat damage using the creature that has Breath of Fury attached and Seluma, triggering both Breath of Fury and Seluma.
- Resolve the Seluma trigger, returning an Angel from your graveyard to the battlefield.
- Resolve the Breath of Fury trigger, causing you to sacrifice the creature it is attached to, then attach Breath of Fury to the Angel returned in step 2, then causing you to untap all creatures you control and to get an additional combat phase after this one.
- Repeat each combat phase.
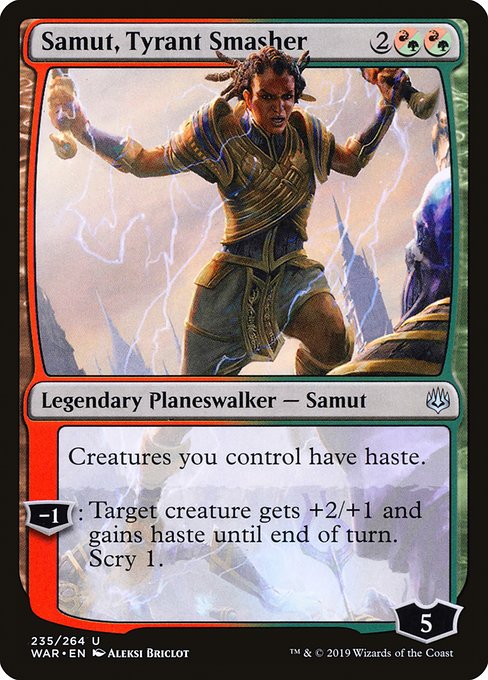
This vicious loop centers on Breath of Fury and Seluma, Light of Aysen working in tandem to chain endless combat phases by repeatedly feeding your own creatures to the Aura. Whenever they connect for combat damage, Seluma's trigger plucks an Angel right out of your graveyard to serve as the Aura's next vessel, while Breath of Fury sacrifices the old attacker, hops onto the freshly returned Angel, and untaps your entire board. Meanwhile, Samut, Tyrant Smasher ensures that every resurrected Angel immediately gains the haste it needs to attack in the very next combat step.
Legal in:CommanderLegacyOathbreakerVintage
0 decks$8.72