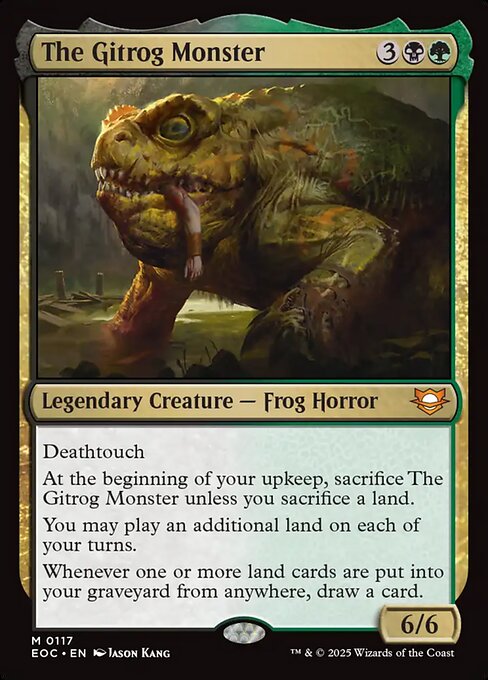
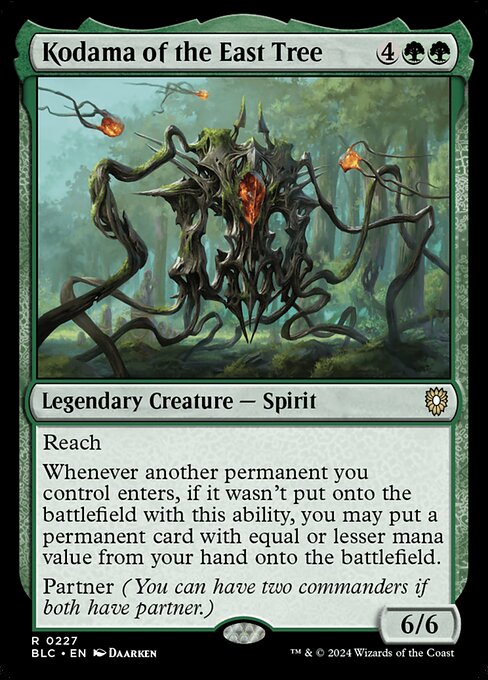
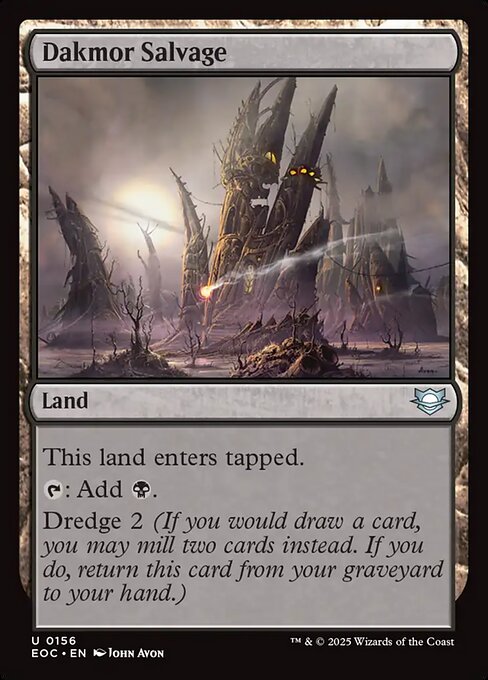
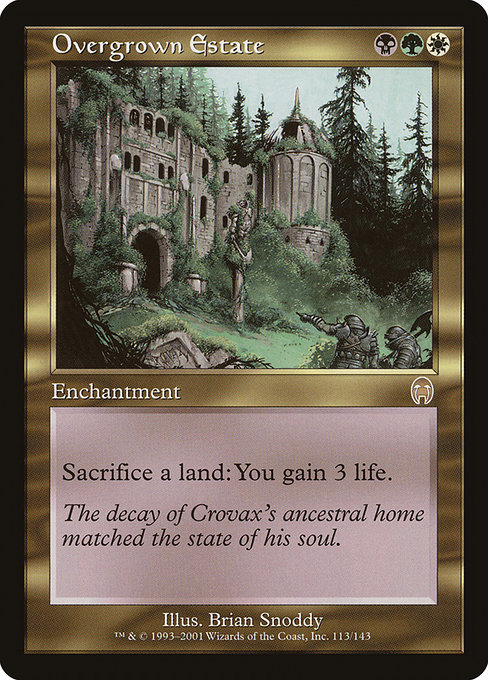
The Gitrog Monster + Kodama of the East Tree + Dakmor Salvage + Overgrown Estate + Felidar Retreat




Near-infinite lifegainNear-infinite lifegain triggersNear-infinite creature ETBNear-infinite landfall triggersNear-infinite creature tokensNear-infinite card drawNear-infinite draw triggersInfinite self-millNear-infinite self-discard triggers
How it works
- Play Dakmor Salvage.
- When Dakmor Salvage enters, Felidar Retreat and Kodama trigger.
- Resolve the Kodama trigger, choosing to put nothing onto the battlefield.
- Holding priority, activate Overgrown Estate by sacrificing Dakmor Salvage.
- The Gitrog Monster's second ability triggers, causing you to mill two cards and return Dakmor Salvage from your graveyard to your hand.
- If a land was milled this way, The Gitrog Monster's second ability triggers, causing you to draw a card.
- Resolve the Overgrown Estate ability
- Resolve the Felidar Retreat trigger, creating a token.
- When the token enters the battlefield, Kodama triggers, putting Dakmor Salvage from your hand onto the battlefield.
- When Dakmor Salvage enters the battlefield, Felidar Retreat triggers.
- Repeat from step 4.
This loop is an exquisite cascade of triggers that turns a simple land drop into a self-sustaining engine. It all begins when Dakmor Salvage enters the battlefield, triggering Felidar Retreat for a token and Kodama of the East Tree to pull another permanent from your hand—or in this case, to prep the chain by placing Dakmor Salvage back onto the battlefield whenever a Cat token arrives. By sacrificing Dakmor Salvage to Overgrown Estate in response, you feed The Gitrog Monster's replacement-level dredge mechanic; whenever you would draw a card, you instead dredge Dakmor Salvage back to your hand and mill two cards, which in turn triggers The Gitrog Monster to actually draw a card (and net you 3 life from the Estate along the way).
Legal in:CommanderLegacyOathbreakerVintage
12 decks$5.74