The Gitrog Monster + Kodama of the East Tree + Dakmor Salvage + Sporemound + Sylvan Safekeeper


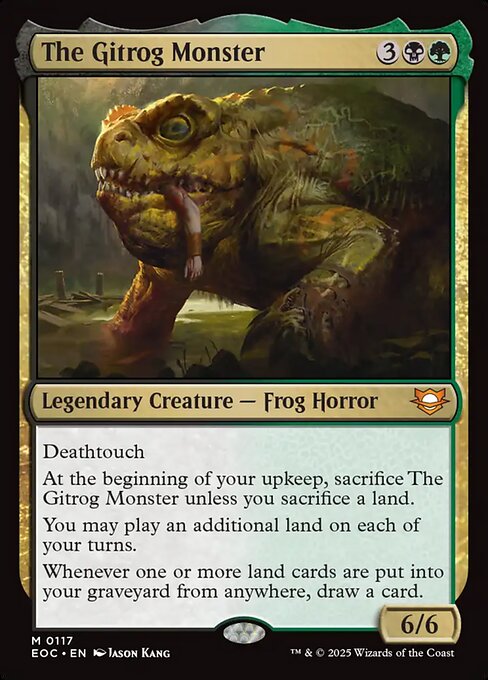
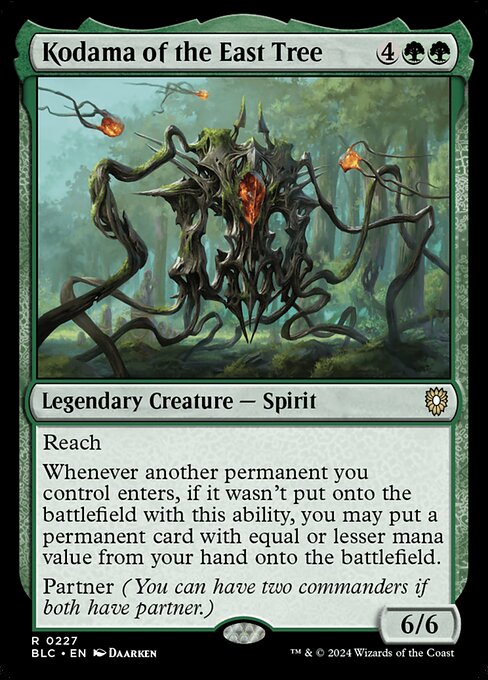
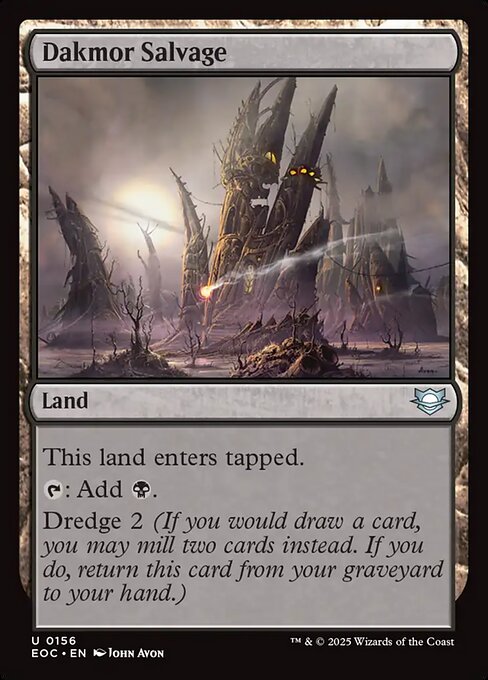
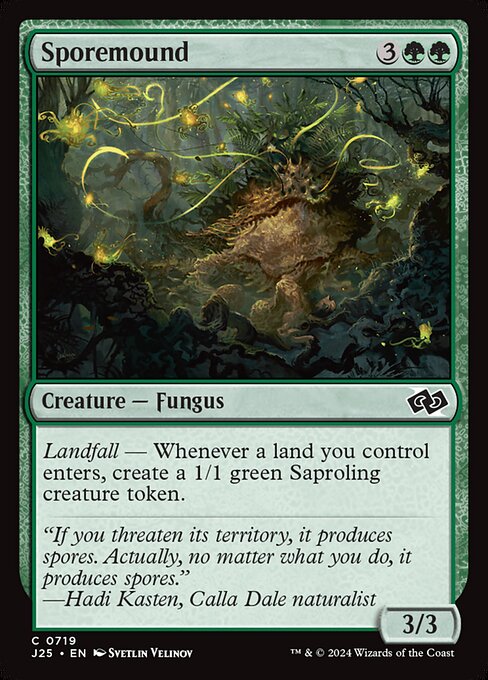
Near-infinite creature ETBNear-infinite landfall triggersNear-infinite creature tokensNear-infinite card drawNear-infinite draw triggersInfinite self-millNear-infinite self-discard triggers
How it works
- Play Dakmor Salvage.
- When Dakmor Salvage enters, Sporemound and Kodama trigger.
- Resolve the Kodama trigger, choosing to put nothing onto the battlefield.
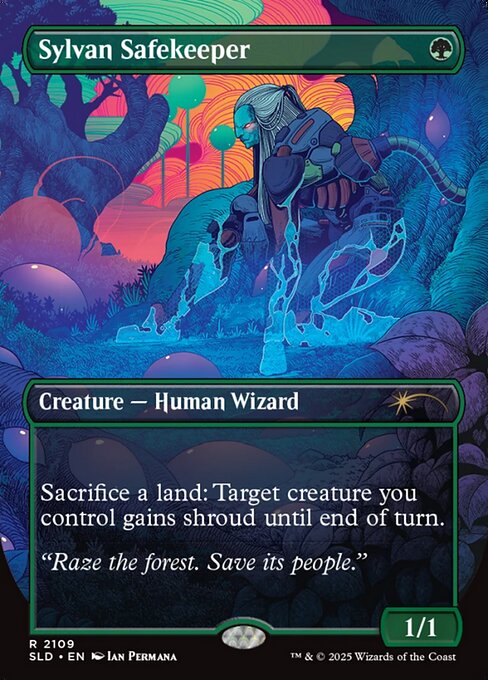
- Holding priority, activate Sylvan Safekeeper by sacrificing Dakmor Salvage.
- The Gitrog Monster's second ability triggers, causing you to mill two cards and return Dakmor Salvage from your graveyard to your hand.
- If a land was milled this way, The Gitrog Monster's second ability triggers, causing you to draw a card.
- Resolve the Sylvan Safekeeper ability
- Resolve the Sporemound trigger, creating a token.
- When the token enters the battlefield, Kodama triggers, putting Dakmor Salvage from your hand onto the battlefield.
- When Dakmor Salvage enters the battlefield, Sporemound triggers.
- Repeat from step 4.
This loop turns the simple act of dropping a land into a self-sustaining engine of creation and card draw. Every time Dakmor Salvage enters the battlefield, Sporemound spawns a token, which in turn triggers Kodama of the East Tree to instantly drop that same land right back out of your hand. Meanwhile, Sylvan Safekeeper acts as your sacrifice outlet, feeding Dakmor Salvage into the graveyard whenever you need to trigger The Gitrog Monster. Thanks to The Gitrog Monster's replacement draw effect triggered by the dredging of Dakmor Salvage itself, your library churns endlessly while filling the board with infinite creature tokens and landfall triggers.
Legal in:CommanderLegacyOathbreakerVintage
7 decks$10.78