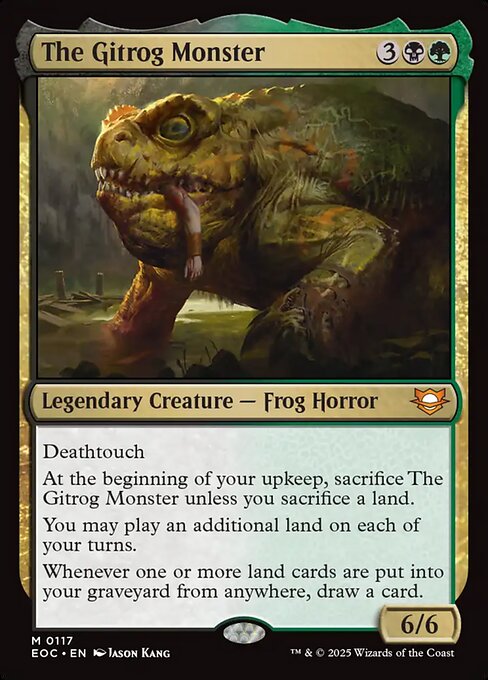
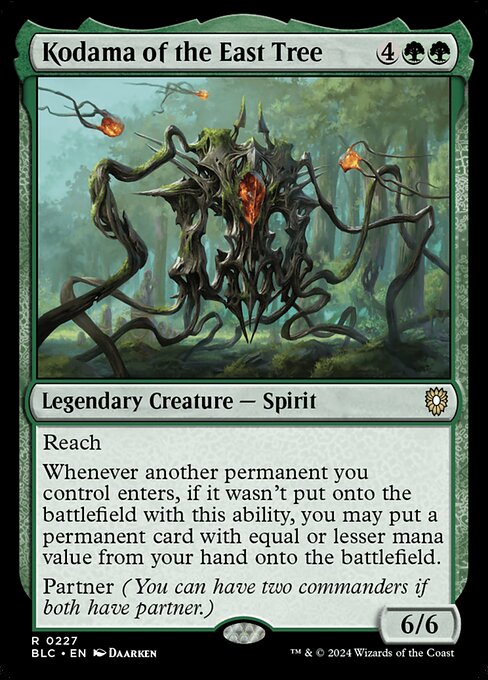
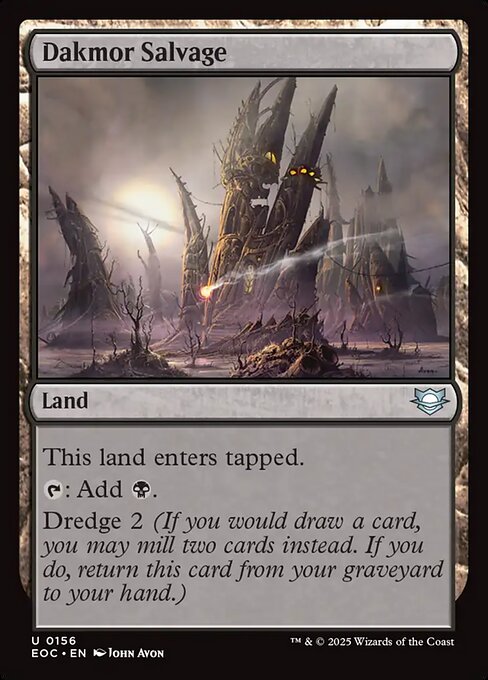
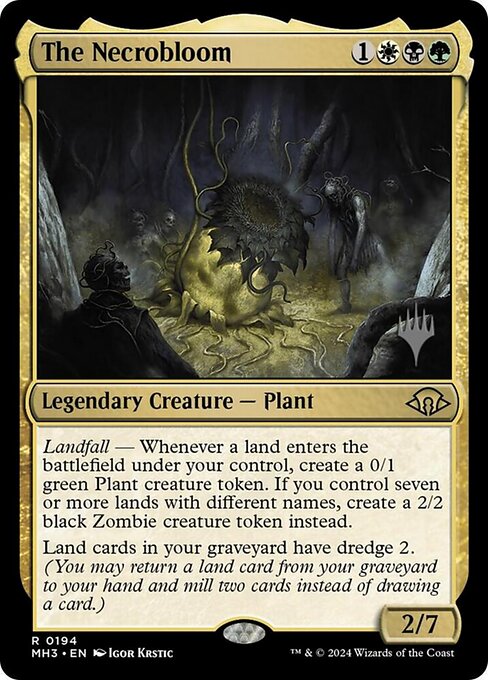
The Gitrog Monster + Kodama of the East Tree + Dakmor Salvage + The Necrobloom + Troubled Healer



Infinite self-millNear-infinite creature ETBNear-infinite self-discard triggersNear-infinite landfall triggersNear-infinite creature tokensNear-infinite card drawNear-infinite draw triggers
How it works
- Play Dakmor Salvage.
- When Dakmor Salvage enters, The Necrobloom and Kodama trigger.
- Resolve the Kodama trigger, choosing to put nothing onto the battlefield.
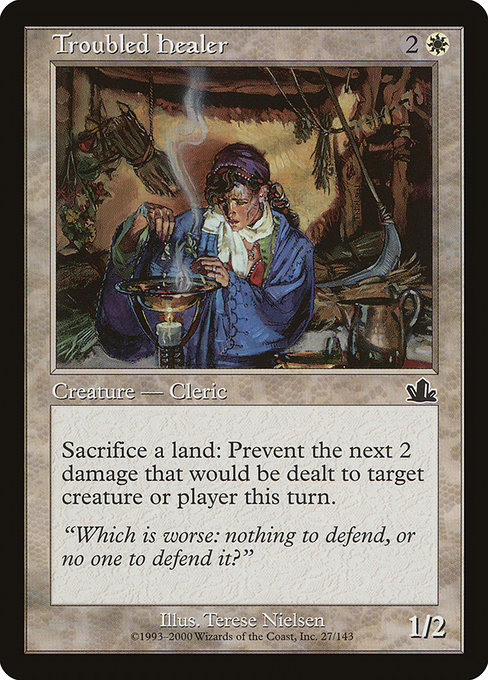
- Holding priority, activate Troubled Healer by sacrificing Dakmor Salvage.
- The Gitrog Monster's second ability triggers, causing you to mill two cards and return Dakmor Salvage from your graveyard to your hand.
- If a land was milled this way, The Gitrog Monster's second ability triggers, causing you to draw a card.
- Resolve the Troubled Healer ability
- Resolve the The Necrobloom trigger, creating a token.
- When the token enters the battlefield, Kodama triggers, putting Dakmor Salvage from your hand onto the battlefield.
- When Dakmor Salvage enters the battlefield, The Necrobloom triggers.
- Repeat from step 4.
- Proceed to your cleanup step, and discard a land and any other card(s) as needed down to your maximum hand size.
- The Gitrog Monster triggers, causing you to mill two cards and return a land from your graveyard to your hand.
- Repeat, as you will still be over your maximum hand size and will be required to discard again.
This intricate loop turns the graveyard into your personal deck using Dakmor Salvage as the ultimate revolving door, backed by The Necrobloom granting dredge to all your lands. Whenever Dakmor Salvage enters the battlefield, Kodama of the East Tree and The Necrobloom trigger to create a token, which in turn triggers Kodama of the East Tree again to loop the land right back into play. Meanwhile, Troubled Healer acts as your sacrifice outlet, sending Dakmor Salvage to the graveyard where The Gitrog Monster converts your draws into a perpetual self-mill engine.
Legal in:CommanderLegacyOathbreakerVintage
0 decks$4.60