Luminous Broodmoth + Pitiless Plunderer + Blasting Station + Reassembling Skeleton



How it works
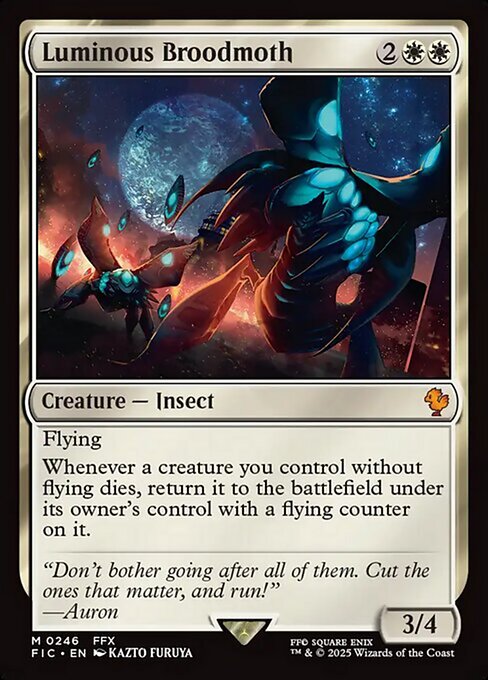
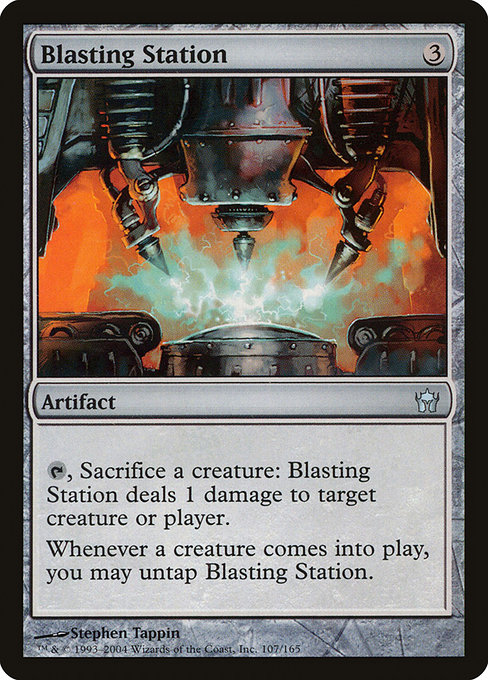
- Activate Blasting Station by tapping it and sacrificing Reassembling Skeleton.
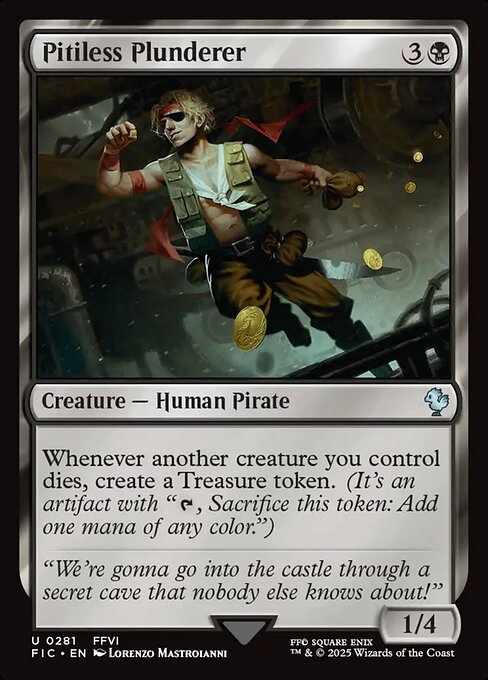
- When Reassembling Skeleton dies, Luminous Broodmoth and Pitiless Plunderer trigger.
- Resolve the Luminous Broodmoth trigger, returning Reassembling Skeleton from your graveyard to the battlefield with a flying counter on it.
- When Reassembling Skeleton enters the battlefield, Blasting Station triggers, untapping Blasting Station.
- Resolve the Pitiless Plunderer trigger, creating a Treasure token.
- Activate Blasting Station by tapping it and sacrificing Reassembling Skeleton.
- When Reassembling Skeleton dies, Pitiless Plunderer triggers, creating a Treasure token.
- Resolve the Blasting Station abilities from steps 1 and 6, dealing 2 damage to any target.
- Activate the Treasures by tapping and sacrificing them, adding 1.
- Activate Reassembling Skeleton by paying 1, returning it from your graveyard to the battlefield.
- When Reassembling Skeleton enters the battlefield, Blasting Station triggers, untapping Blasting Station.
- Repeat.
This resilient little loop centers around Reassembling Skeleton as the ultimate expendable asset, which can happily return from the dead either through its own activated ability or with the aid of external magic. Whenever the Skeleton meets its demise via Blasting Station, Luminous Broodmoth steps in to rescue it from the graveyard straight to the battlefield—though with a catch, as it gains a flying counter that prevents the Broodmoth from saving it a second time. That is where Pitiless Plunderer shines, turning every single one of those tragic sacrifices into a handy Treasure token that helps fund the Skeleton's recursion once the Broodmoth's safety net is spent, all while Blasting Station stays perpetually untamed and ready to pepper your opponents with infinite damage.