Sefris of the Hidden Ways + Radiant Solar + Gigantoplasm + Sakashima's Student



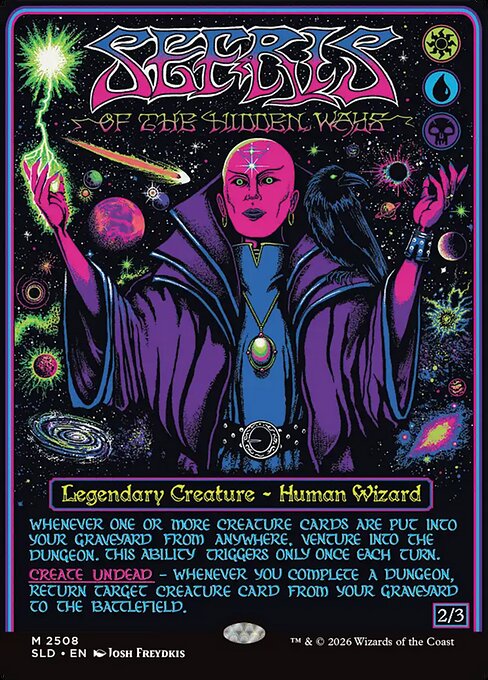
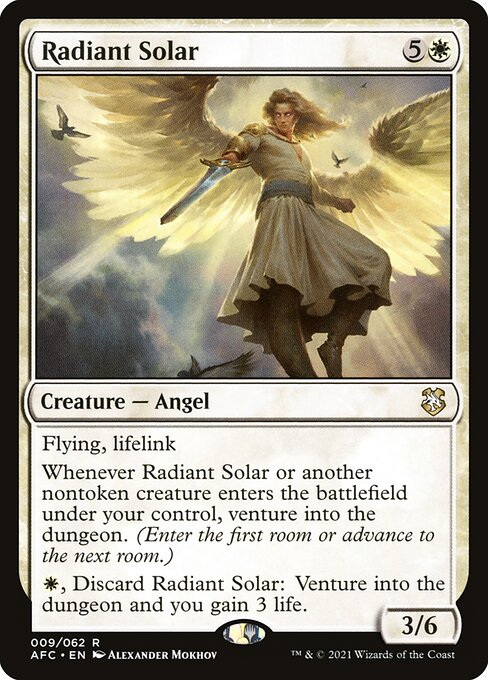
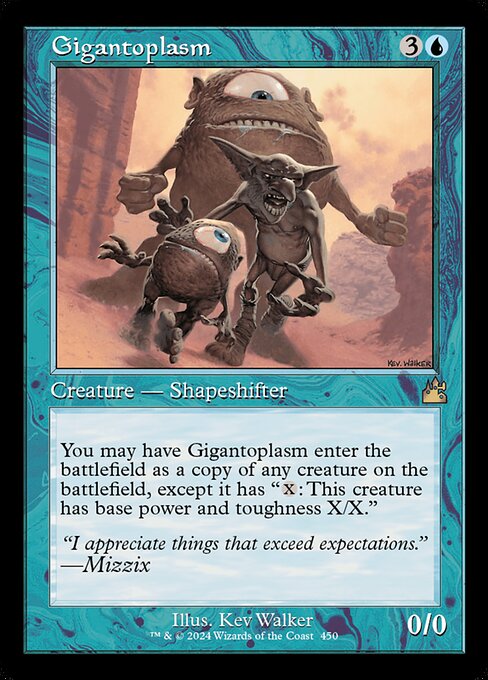
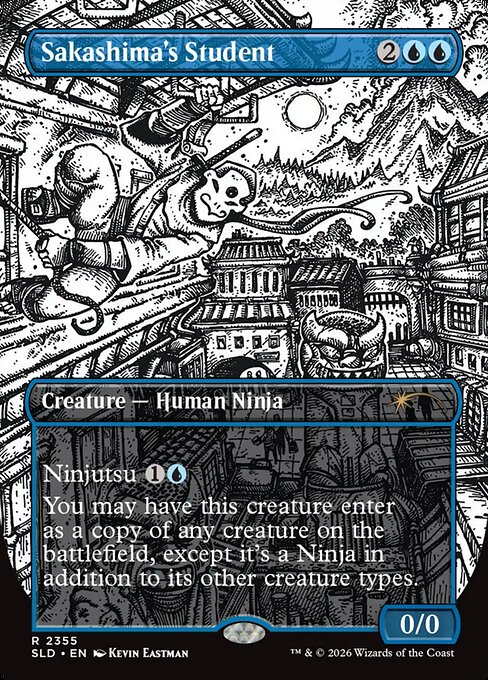
Near-infinite creature ETBNear-infinite creature LTBNear-infinite death triggersNear-infinite lifeloss for all playersNear-infinite creature sacrifice triggers
How it works
- Put any nontoken creature onto the battlefield.
- When the creature enters, Radiant Solar, Gigantoplasm and Sakashima's Student each trigger.
- Resolve the Radiant Solar trigger, causing you to venture into Tomb of Annihilation and into the Trapped Entry room, causing each player to lose 1 life.
- Resolve the Gigantoplasm trigger, venturing into the Oubliette room, causing you to discard a card and then sacrifice Radiant Solar.
- Resolve the Sakashima's Student trigger, venturing into the Cradle of the Death God room, creating a 4/4 legendary The Atropal creature token and completing Tomb of Annihilation.
- If you control two or more The Atropal tokens, put all but one into your graveyard due to the legend rule.
- Sefris' second ability triggers, returning Radiant Solar from your graveyard to the battlefield.
- Repeat from step 2.
This intricate engine revolves around the dungeon-diving synergy of Sefris of the Hidden Ways and Radiant Solar, where every creature entry triggers a cascade of rapid dungeon progression. As the clones Gigantoplasm and Sakashima's Student enter to copy the battlefield state, they rapidly push you through the chambers of Tomb of Annihilation—culminating in the creation of a legendary The Atropal token that immediately triggers the legend rule if you already control one. Sending that surplus token (or a sacrificed Radiant Solar) to the graveyard satisfies Sefris of the Hidden Ways's first ability to fuel her Create Undead revival trigger, smoothly looping Radiant Solar right back to the battlefield to restart the entire sequence.
Legal in:CommanderLegacyOathbreakerVintage
4 decks$23.64