Boonweaver Giant + Goblin Bombardment + Fool's Demise




Infinite creature ETBInfinite creature LTBInfinite damageInfinite death triggersInfinite creature sacrifice triggers
How it works
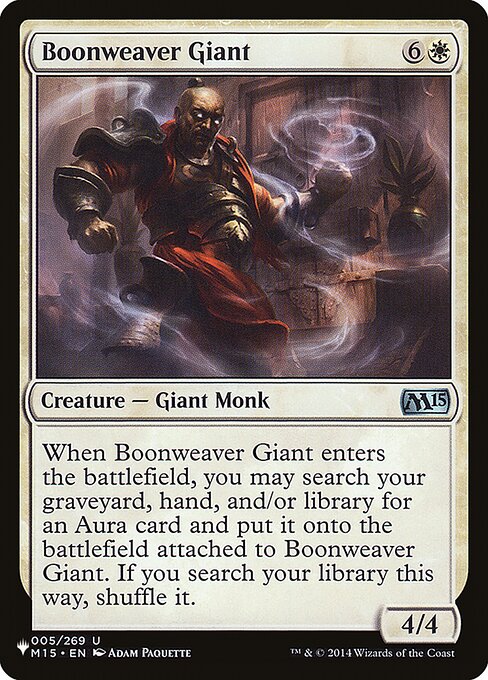
- Activate Goblin Bombardment by sacrificing Boonweaver Giant
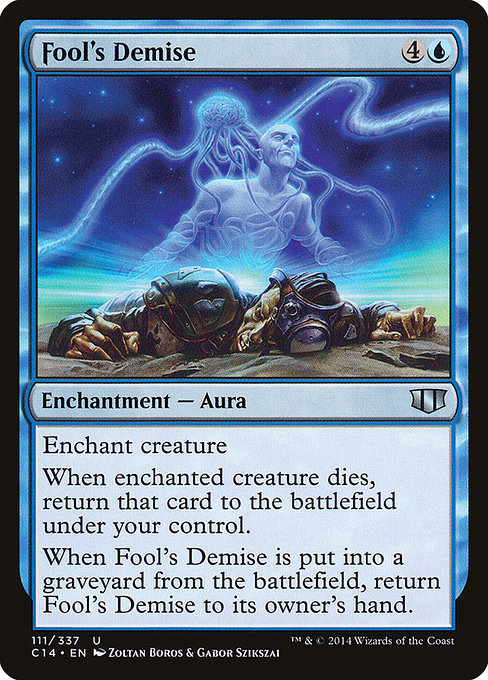
- When Boonweaver Giant dies, Fool's Demise's first and second ability triggers.
- Resolve the first trigger, returning Boonweaver Giant from your graveyard to the battlefield
- When Boonweaver Giant enters, it triggers, returning Fool's Demise from your graveyard to the battlefield attached to Boonweaver Giant.
- Resolve the second Fool's Demise ability, doing nothing,.
- Resolve the Goblin Bombardment ability from step 1.
- Repeat.
This elegant loop turns Boonweaver Giant into an endless ammunition supply for Goblin Bombardment. When you sacrifice the Giant to the Bombardment, Fool's Demise steps in to return the creature straight to the battlefield, which in turn triggers the Giant's entry ability to fetch Fool's Demise right back. Because the Aura endlessly recycles itself from the graveyard onto the Giant and back again, you can repeat this cycle as many times as you like to instantly vaporize your opponents with infinite damage and death triggers.
Legal in:CommanderLegacyModernOathbreakerVintage
0 decks$2.74